


Ema has made us some ceramic owls for our merch box and did a step by step on how you turn a chunk of wet clay into something that is awesome. The owls are available at shows and online really soon. The ideal christmas present for someone you love!
Dan
---------------------------------------------------------------------------------------------------------------------
How to make owls, by Ema Smith.

Step 1: I wedged the clay to get rid of any air bubbles and dry it out a little. This really hurts my arms. Will soon be resembling a body builder. Sort of.
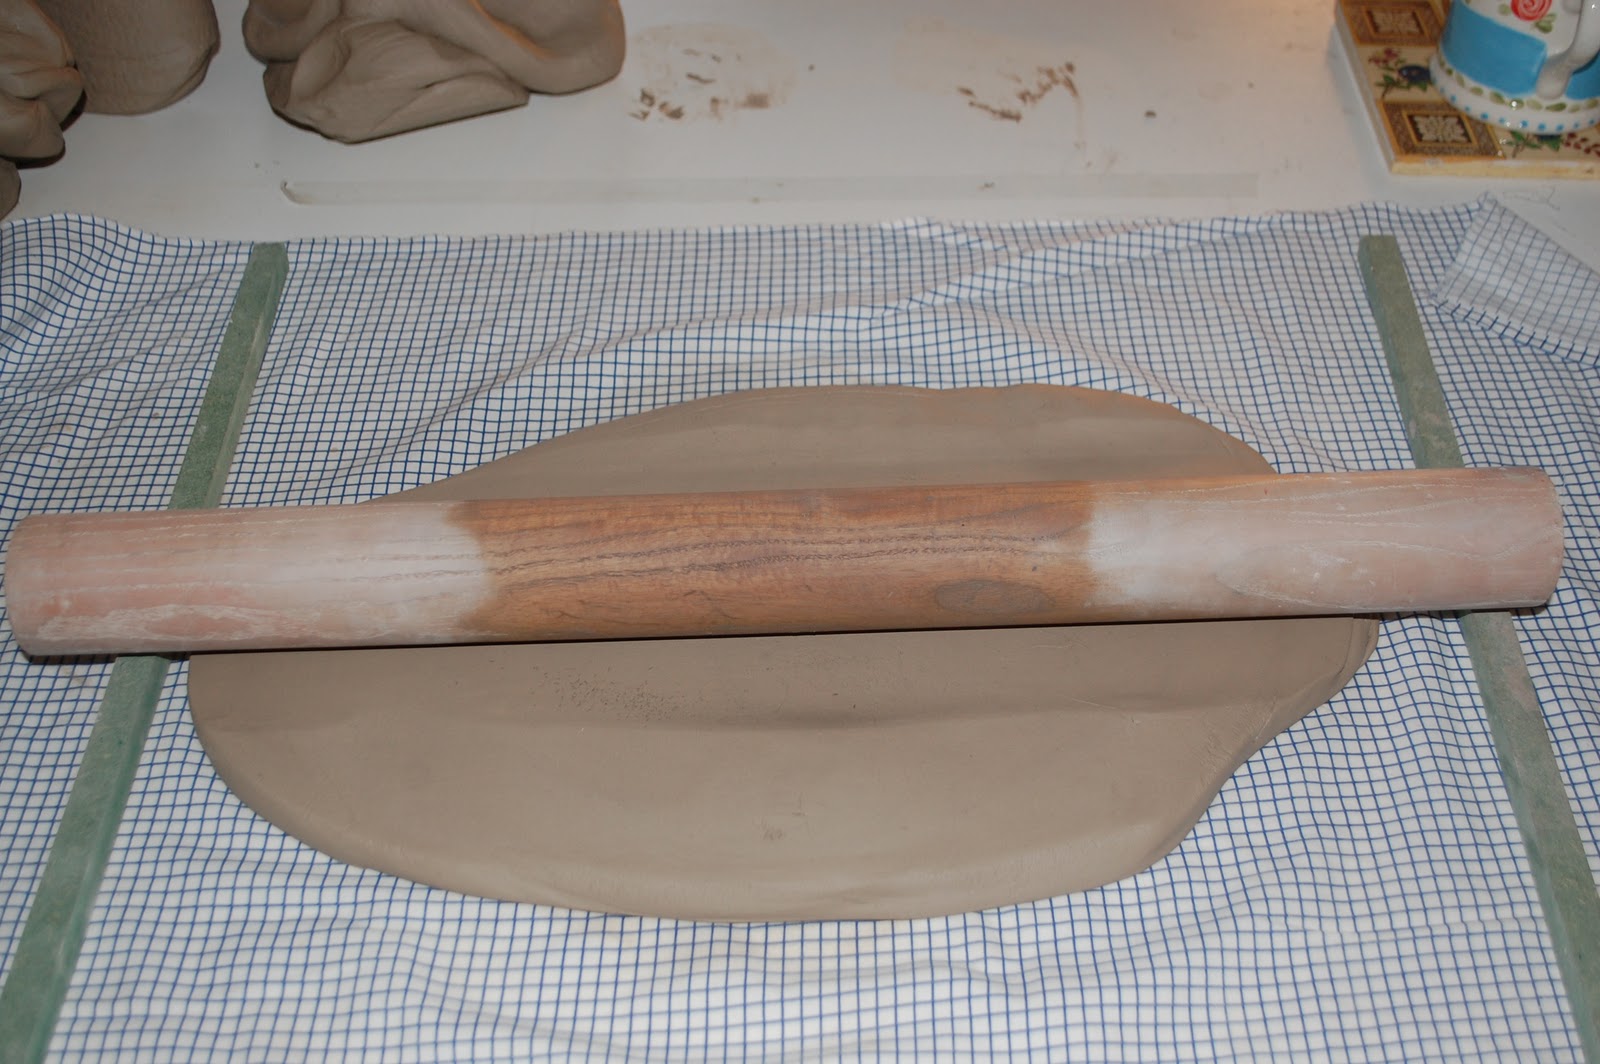
Step 2: Next I rolled the clay using wooden guides to make sure all the owls were as fat as each other.

Step 3: I had to leave the clay slabs to dry out a bit and then cut out 100 owls. Next, I tidied up all the edges, put a hole in each one and then left them to dry for a few days.

Step 4: I loaded the kiln and bisque fired them to 1100 c in my lovely kiln in our living room. Safe to say it was pretty warm in our house that day.


Step 5/6: I enlisted the help of Dan and Josh against their will (please note Josh's scowl) to help glaze the owls whilst we watched the apprentice.

Step 7: I loaded them into the kiln and fired to 1017c. 12 hours later... I removed them from the kiln and applied the ceramic decals I had made to the glazed surface (whilst making 50% of calvinball a roast - that's what you call multi-tasking).

Step 8: Loaded the Owls back into the kiln AGAIN but this time I fire to 800c to fix the owl decals.

Step 9: Gatta 'helps' thread ribbons through the owls.

Step 10: We wrap and pack them!
No comments:
Post a Comment